If you searched for pepper sous, you are probably looking for a reliable way to cook peppers gently, evenly, and without turning them into a collapsed heap. Here is the version that works on a Tuesday: season fresh bell peppers, seal them in a bag, cook them in a water bath, then finish them in a hot skillet or under the broiler. The result is tender peppers with brighter flavor and better texture than many long stovetop methods.
The phrase pepper sous is not a standard recipe name, so I use it here as shorthand for sous vide peppers. Sous vide means cooking food in a temperature-controlled water bath, usually inside a heat-safe sealed bag. It sounds more technical than it is. Once the water reaches the right temperature, the machine does the hovering while you make rice, answer messages, or locate the lime you were certain was in the crisper drawer.
What you need for pepper sous
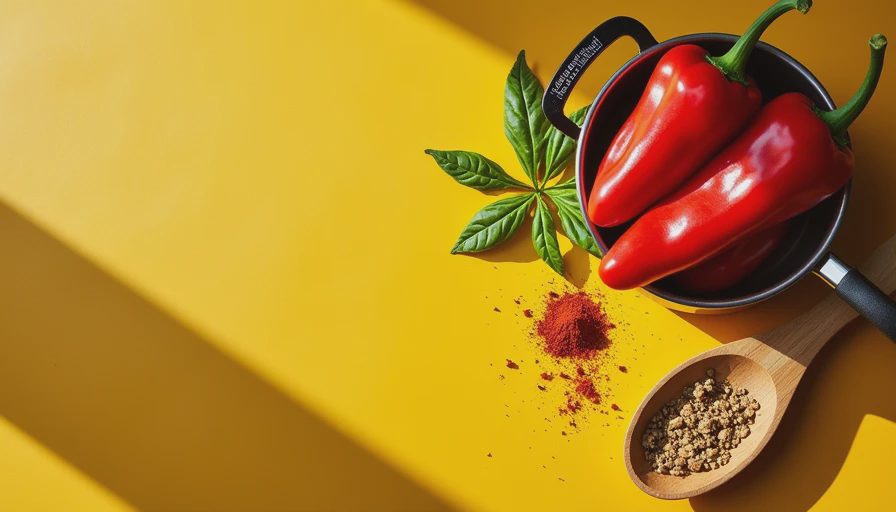
Start with firm bell peppers. Red, yellow, and orange peppers become sweet and soft, while green peppers stay more savory and slightly grassy. You can use one color or mix several. For four side-dish servings, use four medium peppers, two tablespoons of olive oil, half a teaspoon of kosher salt, a few grinds of black pepper, and one small garlic clove. A pinch of smoked paprika, dried oregano, or chili flakes is optional.
Wash and dry the peppers thoroughly. Slice off the tops, remove the seeds and pale ribs, then cut the flesh into wide strips or two-inch pieces. Wide pieces hold their shape better than thin slices. If you want a more finished sauce, chop them smaller, but expect a softer result.
The bag matters. A vacuum-sealer bag gives the most reliable contact with the water, but a sturdy zip-top freezer bag also works with the water-displacement method. Lower the open bag slowly into the water, keeping the zipper above the surface, and let water pressure push out the air before sealing it. Do not use a thin sandwich bag; it is not designed for heated cooking.
Temperature and timing for pepper sous
Set the water bath to 185 degrees Fahrenheit. Cook the pepper pieces for 45 to 60 minutes. At this temperature, the peppers soften substantially without becoming flavorless. Forty-five minutes leaves a little bite, while an hour gives you the texture that works well on tacos, sandwiches, grain bowls, and blended sauces.
Pepper sous is forgiving because the temperature is controlled, but timing still changes the texture. At 30 minutes, the pieces are warmed and lightly tender. At 75 minutes, they become very soft and can tear when removed from the bag. That is useful for soup or a spread, less useful if you want distinct strips on a dinner plate.
Do not crowd the bag into a thick bundle. Arrange the peppers in a mostly even layer so the water can circulate around them. If you are cooking several pounds, divide the vegetables between two bags. A crowded bag is not dangerous when handled correctly, but it produces uneven results and makes the vegetables harder to finish neatly.
When the cooking time ends, open the bag over a bowl and save the liquid. It will contain pepper juices, olive oil, and seasoning. Taste it before discarding it. A tablespoon or two can loosen a pan sauce, vinaigrette, or bean stew.
How to finish pepper sous for better flavor
Sous vide makes peppers tender, but it does not create browning. That is why the finishing step matters. Heat a skillet over medium-high heat, add the peppers, and cook for two to four minutes until the edges pick up color. Let them sit undisturbed for about 60 seconds at a time instead of stirring constantly. Browning needs contact with the pan; enthusiastic stirring is the enemy here.
For a smoky finish, spread the cooked peppers on a sheet pan and broil them for two to five minutes. Watch closely because the difference between blistered and burned can be one distracted glance at your phone. You can also use a grill basket over medium-high heat for three to five minutes.
At this stage, pepper sous benefits from an acid. Add a squeeze of lemon, a teaspoon of sherry vinegar, or a splash of rice vinegar. Acid keeps the sweetness from tasting flat. For a Southeast Asian direction, add fish sauce, lime juice, and sliced scallions. For a Mediterranean plate, use oregano, feta, and toasted bread. For a Tex-Mex dinner, try cumin, lime, cilantro, and a spoonful of salsa verde.
Weeknight ways to use pepper sous
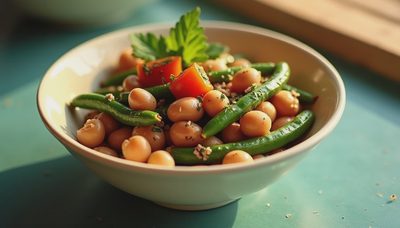
The easiest use is a warm side dish. Toss the finished peppers with white beans, olive oil, lemon, and parsley. Serve them beside roasted chicken or fold them into a quesadilla with Monterey Jack. They also make a useful breakfast ingredient: add them to scrambled eggs with cheddar, or spoon them over avocado toast with hot sauce.
For sandwiches, drain the peppers well and layer them with turkey, provolone, and mustard on toasted sourdough. The soft texture contrasts with crisp bread without requiring a separate spread. For pasta, blend half the cooked peppers with a little cooking water, Parmesan, and garlic. The result is a fast sauce that tastes more intentional than opening a jar and hoping for the best.
Pepper sous is especially useful for meal prep. Cook a batch on Sunday, cool it quickly in a shallow container, and refrigerate it in a covered container. Use the peppers within three to four days. Reheat them in a skillet rather than the microwave when possible; the pan restores some browned flavor and prevents the pieces from becoming watery.
Troubleshooting the method
If the peppers are watery, the bag probably held too much liquid or the pieces were not finished in a hot pan. Drain them, pat them dry, and cook them uncovered until the excess moisture evaporates. If they are too soft, shorten the bath to 40 or 45 minutes next time and use larger pieces.
If the flavor seems dull, increase salt only after finishing. The more useful fix is often acid or browning. A teaspoon of vinegar can wake up a whole bowl, while a hot skillet adds depth that seasoning alone cannot provide. If garlic tastes harsh, use a whole peeled clove in the bag and remove it before serving, or add minced garlic during the final skillet step.
For stuffed peppers, pepper sous is not the best first method because hollow peppers can trap air and float. Instead, cook sliced peppers sous vide, or use a conventional oven for whole stuffed peppers. The technique shines when the vegetables are cut into pieces that can stay submerged and make full contact with the warm water.
The simplest reliable formula
For a first batch, use four bell peppers, two tablespoons of olive oil, half a teaspoon of kosher salt, and one garlic clove. Cook at 185 degrees Fahrenheit for 50 minutes, then brown the pieces in a hot skillet for three minutes. Finish with lemon juice and herbs. That formula gives you a neutral base that can move toward tacos, pasta, sandwiches, or a dinner-party side without starting over.
The main idea behind pepper sous is controlled tenderness followed by a fast flavor-building finish. You are not trying to make the water bath do everything. Let it cook the peppers evenly, then let the skillet, broiler, acid, and seasoning create personality. If your fridge is a little chaotic, this is still recoverable: use the peppers with beans, eggs, rice, or toast. If it works on a Tuesday, it belongs here.

No comments yet — grab the first one.