The right hard boiled eggs cooking time depends on the texture you want, the size of your eggs, and whether you start with cold or already-boiling water. Here’s the version that works on a Tuesday: use a timer, cool the eggs quickly, and stop asking one lonely egg to explain what happened to the whole batch. Once you know the timing, boiled eggs become a dependable breakfast, salad topping, snack, or shortcut for a bowl of rice with chili crisp.
The best timing for hard-boiled eggs
For large eggs started in already-boiling water, cook them for 9 minutes for a slightly softer, creamy yolk; 10 minutes for a mostly firm center; or 11 to 12 minutes for a fully set yolk. My usual hard boiled eggs cooking time is 10 minutes because it gives the widest margin for error. The whites are set, the yolks are cooked through, and the center is not yet dry and crumbly.
Use this timing as a practical guide:
- 8 minutes: set whites with a noticeably soft, jammy yolk
- 9 minutes: creamy yolk with a firm outer ring
- 10 minutes: mostly firm and good for sandwiches or salads
- 11 minutes: fully cooked with a tender, firm yolk
- 12 minutes: very firm, useful for deviled eggs or egg salad
These times assume large eggs straight from the refrigerator and water deep enough to cover them by about an inch. Extra-large eggs can need another minute. Small eggs often need one minute less. Altitude, pan shape, and how aggressively the water boils can also shift the result, so treat the first batch as a small kitchen test rather than a personal referendum.
A reliable stovetop method
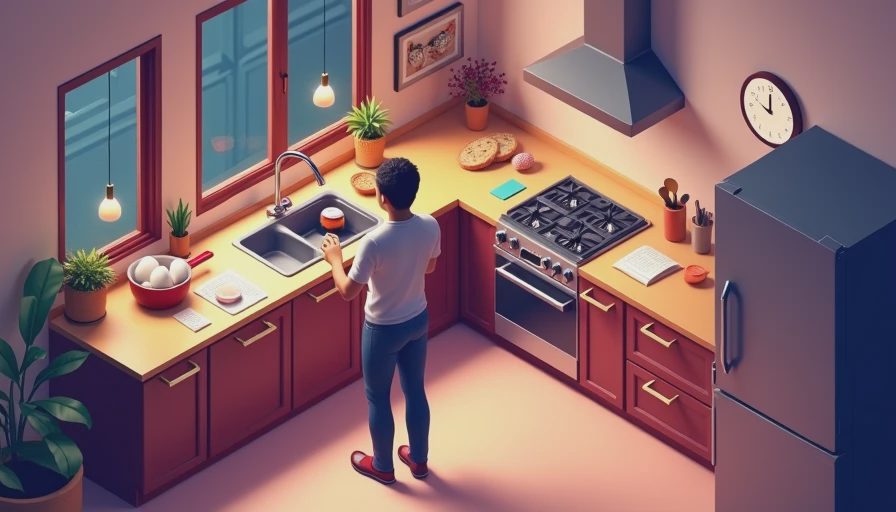
Place the eggs in a saucepan in one layer. Add cool water until it covers the eggs by at least an inch, then bring the water to a full boil over medium-high heat. Once the boil is active, lower the eggs in carefully with a slotted spoon if you started them separately, or simply begin timing when the water reaches the boil if the eggs were already in the pan.
For the most repeatable result, I prefer adding cold eggs to boiling water because the timer has a clear starting point. Lower them gently to prevent cracking, then adjust the heat so the water stays at a steady simmer rather than bouncing the eggs around like marbles. Cook for 9 to 12 minutes according to the texture chart above.
When the timer rings, move the eggs immediately into a bowl of ice water. Let them cool for at least 5 minutes, or 10 minutes if you want easy peeling and a completely stopped cooking process. The ice bath is not decoration. Residual heat continues cooking the yolk, so skipping it can turn a pleasantly creamy center into a dry one while you are congratulating yourself on being efficient.
Why the cooling step matters
The cooking time is only half the system. A hot egg continues to cook after it leaves the pan, especially in a crowded bowl or on a warm counter. Cooling quickly also helps the white contract slightly from the shell, which can make peeling less frustrating.
After the eggs cool, tap them gently all over and start peeling from the wider end, where there is usually a small air pocket. Peel under a thin stream of water or in a bowl of water if bits of shell cling stubbornly. Very fresh eggs can be harder to peel because the white holds tightly to the inner membrane. Eggs that have been in the refrigerator for several days often peel more cleanly.
If you are meal-prepping, leave the shells on until you need the eggs. Store them in the refrigerator and use them within about one week. A peeled egg is still convenient, but it dries out more quickly and absorbs refrigerator odors, including the mysterious scent of last Sunday’s takeout.
How to choose your hard boiled eggs cooking time
Choose 9 minutes when the eggs will be sliced over ramen, rice, or toast and you want a rich center that spreads slightly. This is also a good choice for a soy-marinated egg, although the marinade will not soften an overcooked yolk.
Choose 10 minutes for everyday use. The yolk is firm enough for a chopped salad but still pleasant in a breakfast bowl with avocado, hot sauce, and scallions. This is the timing I use when making eggs for more than one purpose because it handles both snacks and lunch without requiring separate batches.
Choose 11 or 12 minutes for deviled eggs, egg salad, or packed lunches where a runny center would be inconvenient. The yolk should be fully set, but avoid boiling much longer than 12 minutes. Overcooking can create a dry texture and a gray-green ring around the yolk. That ring is harmless, but it is the visual equivalent of a printer error message.
If you are cooking eggs for a group, test one egg from the batch before peeling everything. Cool it, cut it in half, and adjust the next batch by a minute if needed. This is faster than discovering at the dinner table that “firm” meant four different things to four people.
Troubleshooting common egg problems
Cracked shells usually mean the eggs were dropped into the pan too quickly or the water was boiling too violently. Lower eggs with a spoon and keep the heat moderate. A small crack is not automatically a disaster; the white may puff through it, but the egg can still be usable.
Rubbery whites usually point to excessive cooking or a hard, rolling boil. Lower the heat after the water boils and keep the cooking time controlled. A chalky or dry yolk means the eggs stayed hot too long, either in the pan or before the ice bath.
A difficult peel can come from very fresh eggs, insufficient cooling, or peeling without cracking the shell thoroughly. Roll the cooled egg on the counter with light pressure until the shell is covered in fine cracks, then peel under water. If your fridge is a little chaotic, this is still recoverable: use the imperfect eggs for egg salad, where appearance has already been removed from the job description.
Flavor ideas beyond breakfast
Once you have the hard boiled eggs cooking time dialed in, use them as a blank canvas rather than stopping at salt and pepper. Halve a 9-minute egg over rice with sesame oil, sliced cucumber, and a spoonful of chili crisp. Chop a 10-minute egg into mayonnaise with lime juice, fish sauce, and a little grated ginger for a sandwich filling with more personality than standard deli salad.
For a quick dinner, serve 11-minute eggs with roasted sweet potatoes, greens, and a sauce made from yogurt, lemon, garlic, and smoked paprika. You can also marinate peeled eggs in soy sauce, water, rice vinegar, and a pinch of sugar for several hours. The flavor gets deeper as the eggs sit, while the firm white holds up well in the refrigerator.
The simple routine to remember
For dependable results, use large eggs, cover them with water, bring the pan to a boil, and cook for 9 to 12 minutes based on your preferred yolk. Cool them immediately in ice water, peel from the wide end, and refrigerate leftovers with their shells on. The most useful hard boiled eggs cooking time for a mixed-purpose batch is 10 minutes.
Write your preferred timing on a piece of tape near the stove if you are testing different textures. After one or two batches, you will know exactly what your household likes. If it works on a Tuesday, it belongs here.


No comments yet — grab the first one.